Top Reno Tips - Wall Paint (Part 2)
This is our fourth house renovation and we’re undertaking it whilst living here with our four kids and two dogs. We’re doing the renovation in stages. Yesterday, I outlined Stage 1 (Flooring) and today I’m talking about wall paint (Stage 2).
I’ve found that taking our time with each Stage has been great as it’s given us time to really think about how we use the house and outdoor spaces and how we could use it better. Let’s get on with Stage 2.
Stage 2 - Interior Painting
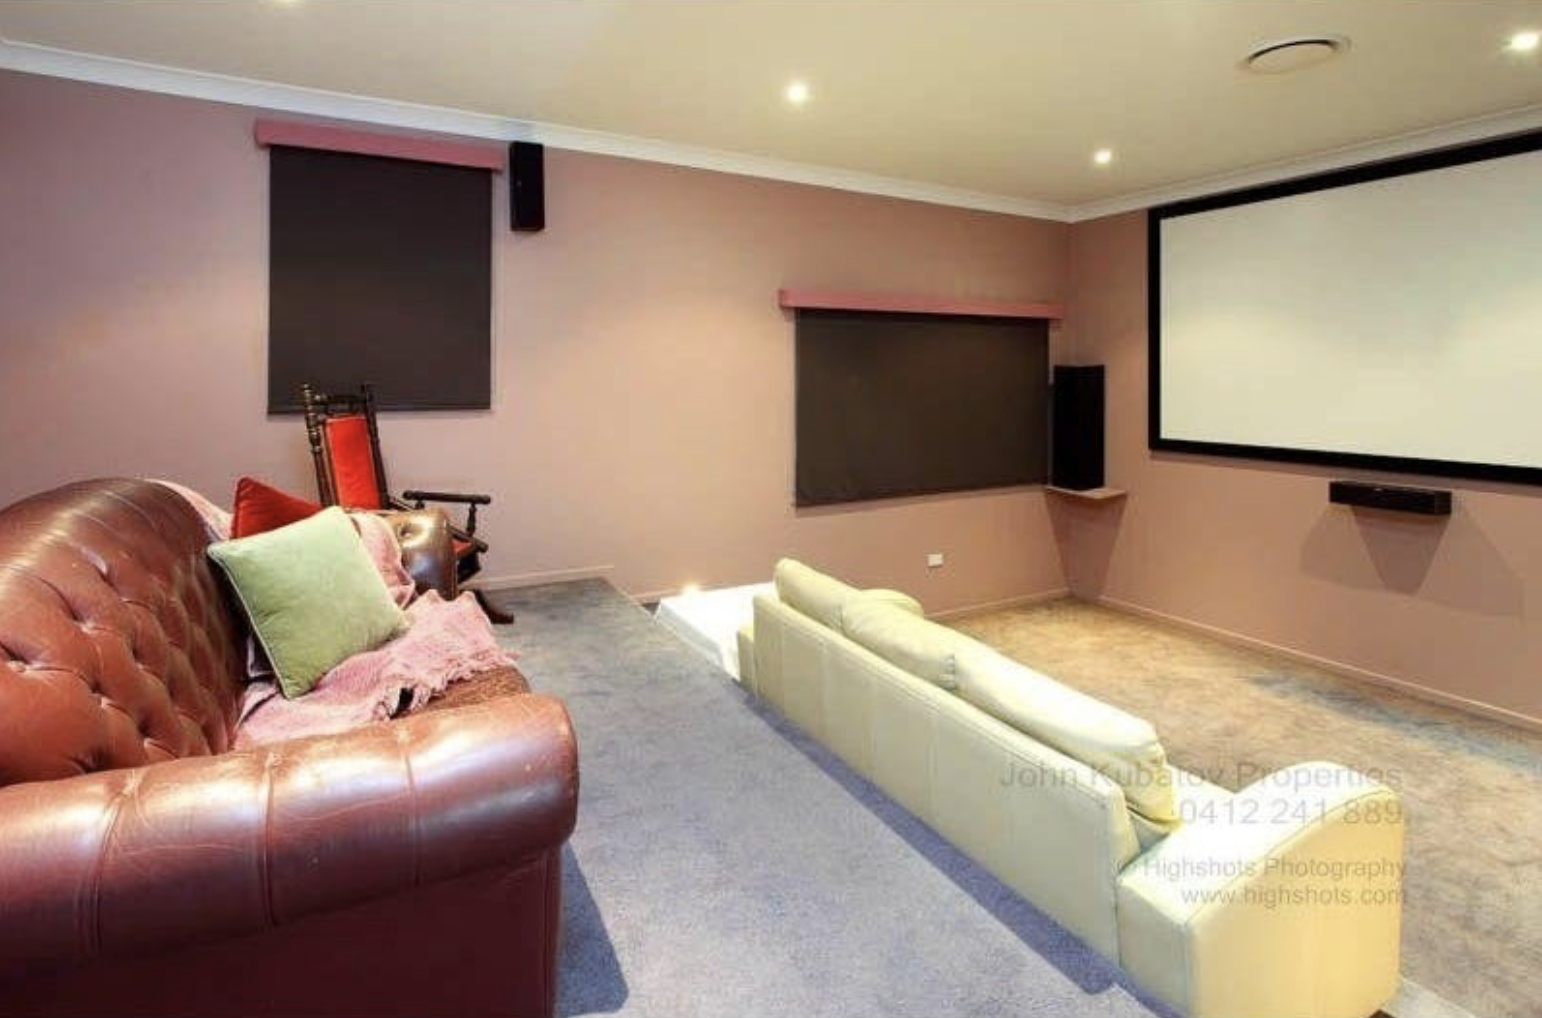
When we moved into the house each room was a different colour. Strangely, the media room was purple (see photo above)! I needed to unify the the whole house. We did this by choosing the same flooring upstairs and downstairs - dark timber floors (all the details are here). And by painting all the rooms the same colour. I needed a colour that was a ‘warm’ white rather than a ‘cool’ white.
We have extremely harsh sun from the West in the afternoons. If I’d chosen a ‘cool’ white which was super bright in the sun, we may have needed to wear sunglasses inside! So choosing the right interior paint colour was important.
I chose Dulux Antique White USA, it’s a warmer white and works in both the really sunny rooms and the rooms with less natural light. Since we did the painting, I’ve noticed that I like the way the ceilings and cornices contrast with the walls as well as the way the art looks when hung against this backdrop. (Photo above)
Tip: Double check your paint colours and names, at one point we had tins of both Antique White USA and Antique White. They’re quite different - Antique White is very creamy!
Stick around, the best is yet to come.
Amber x
PS. Want more tips on transforming your home from an ugly duckling to a swan? Become a Studio V insider here.

